Here keycuttingmachine.org share the guide on how to use calibrate position for Xhorse Dolphin key cutting machine.
Part 1:Height Level Adjustment
Part 3:Clamp Calibration M1 & M2
Preparations:
Run the Xhorse APP (Xhorse APP Download & Installation)

Click “Select” button
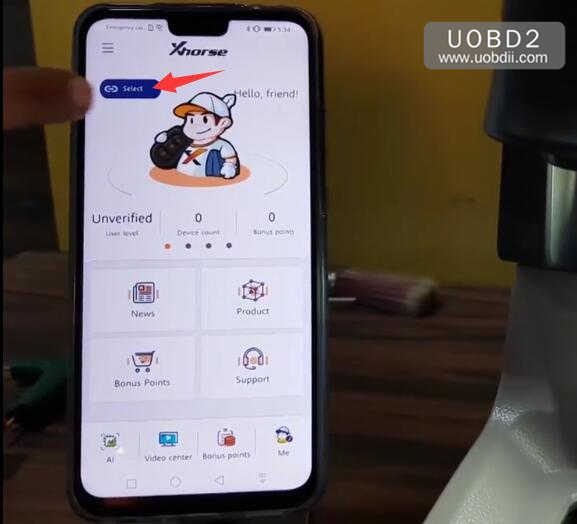
Turn on Bluetooth to build connection to Xhorse Condor Dolphin machine.(Dolphin machine must be power on,and turn on bluetooth)
Note:If it is your first time to use,please register it firstly.

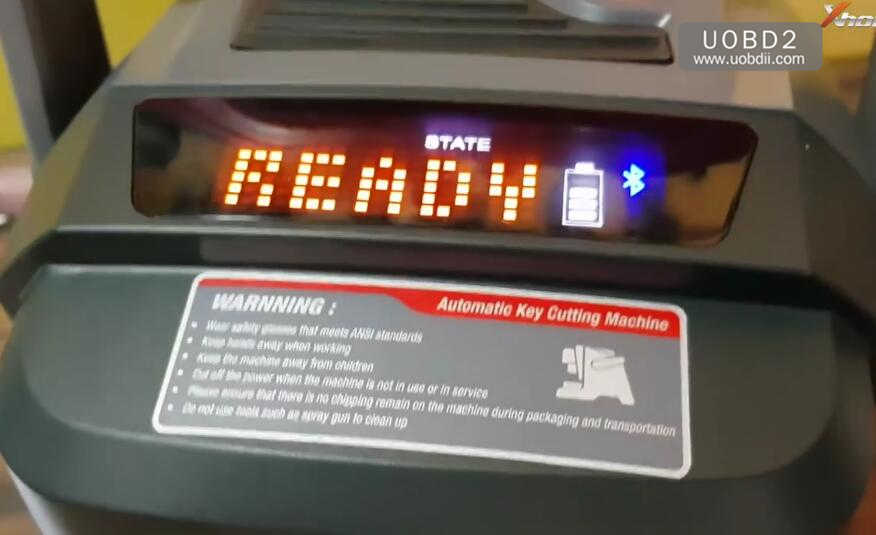
After connection built,Dolphin will show the “READY” state
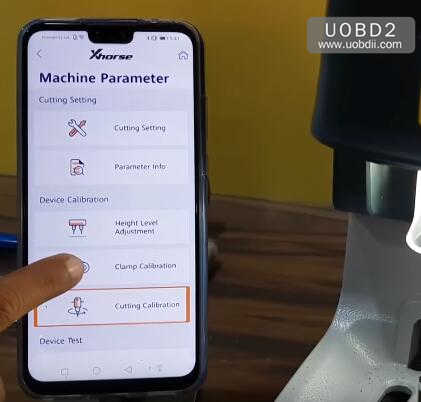
Select “Machine Parameter”

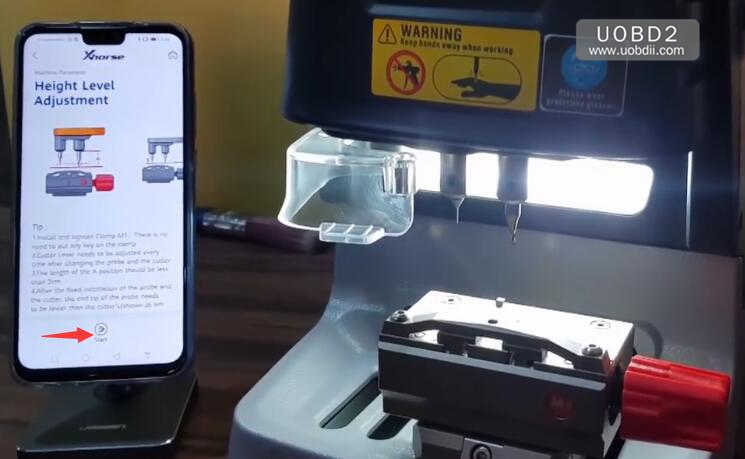
Select “Height Level Adjustment”

Tip:
1.Install and tighten Clamp M1.There is no need to put any key on the clamp.
2.Cutter lever needs to be adjusted every time after changing the probe and the cutter
3.The length of the A position should be less than 2cm.
4.After the fixed installation of the probe and the cutter,the end tip of the probe needs to be lower than the cutter’s(Shown as left)

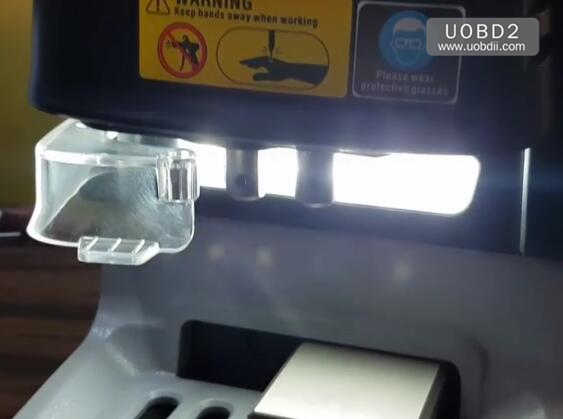
Open the cover,and install and tighten tracer probe and milling cutter.

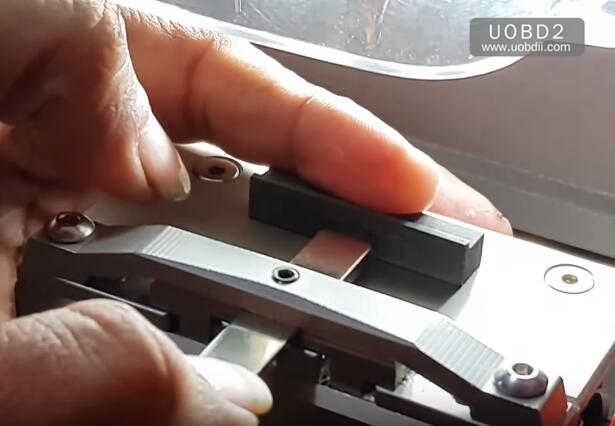
Install and tighten Clamp M1

Click “Start” button to continue
Height level adjustment in process….
Now,it will start calibrating automatically

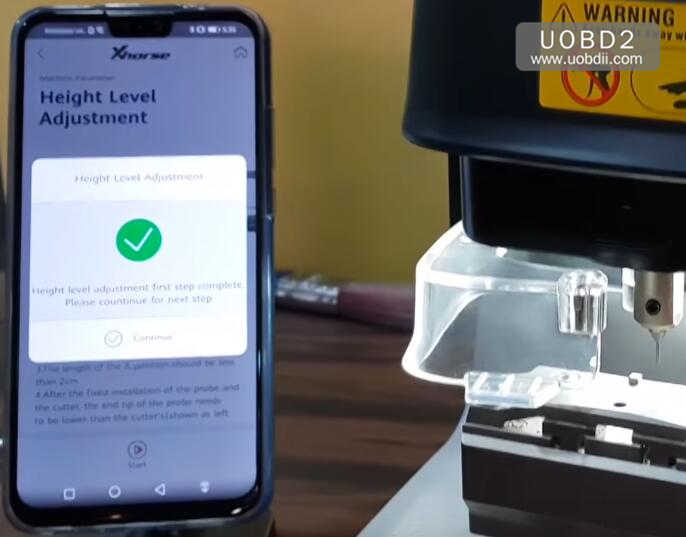
Then it will show below massage:
Height level adjustment first step complete.
Please continue for next step.
Click “Continue” button
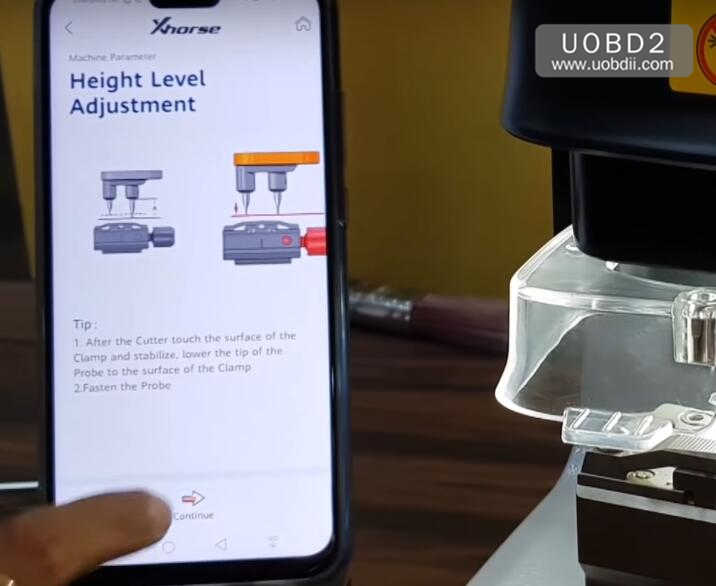
Afte the cutter couch the surface of the Clamp and stabilize,lower the tip of the Probe to the surface of the clamp
Fasten the probe
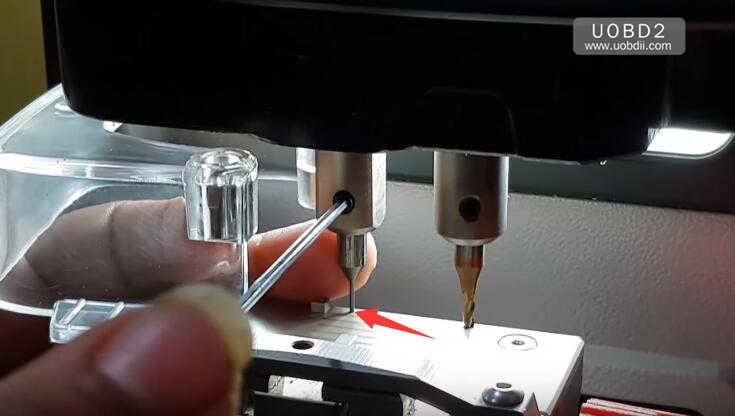
Now you need to loosen the tracer probe,and adjust it to touch clamp M1,then tighten it.
Click “Continue”
Height level adjustment in process…
Wait for process complete.
After height level adjustment,please setting cutter diameter again,click “OK”

Select current cutter diameter “2.5mm”,click”Setting cutter diameter”

Setting cutter diameter success,click “OK” to continue

Height level adjustment completed
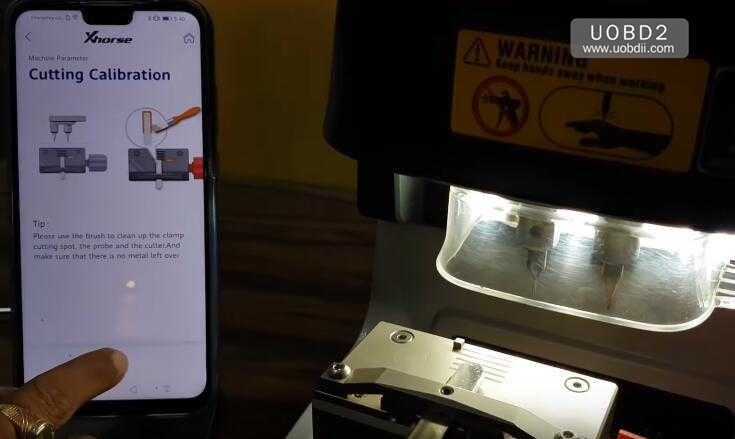
Back to “Machine Parameter” to select “Cutting Calibration”

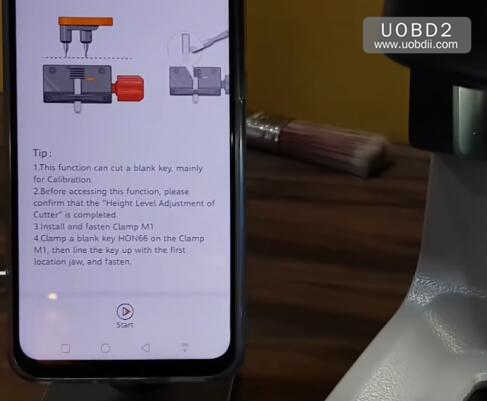
This function can cut a blank key,mainly for calibration
Before accessing this function,please confirm that the “Height Level Adjustment of Cutter” is completed.
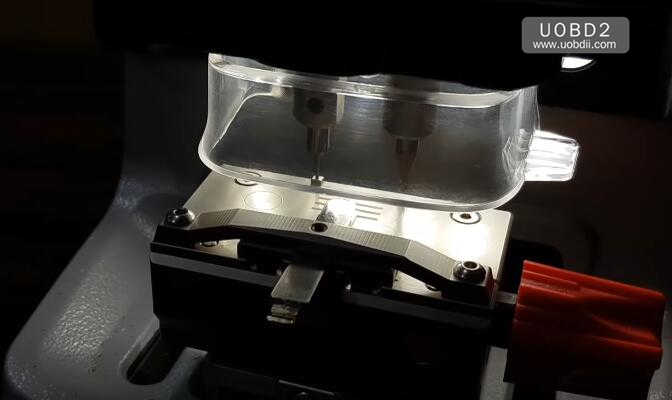
Install and fasten Clamp M1
Clamp a blank key HON66 on the Clamp M1,then line the key up with the first location jaw,and fasten.


Click “Start” to continue
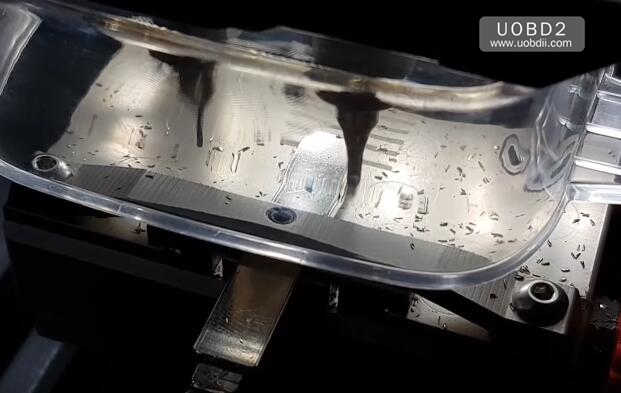
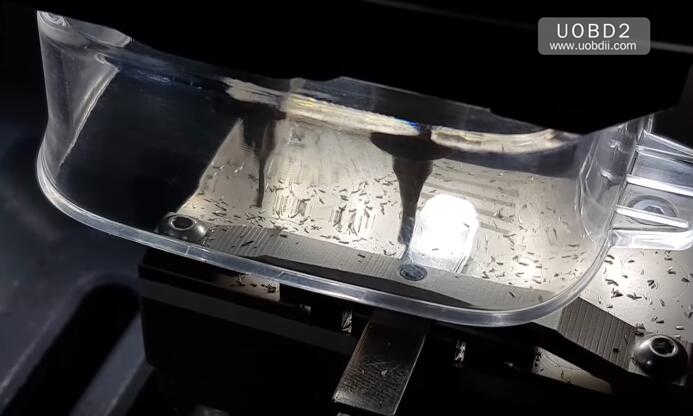
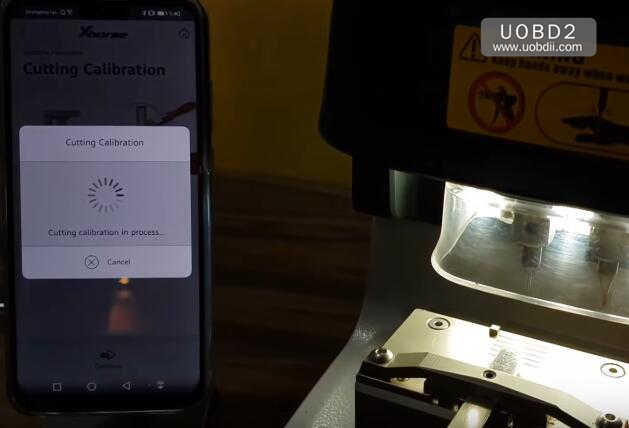
Cutting calibration in process…

Cutting calibration first step complete,please click “Continue”
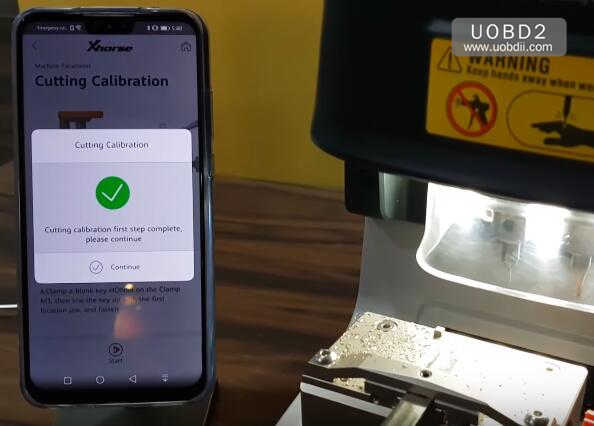
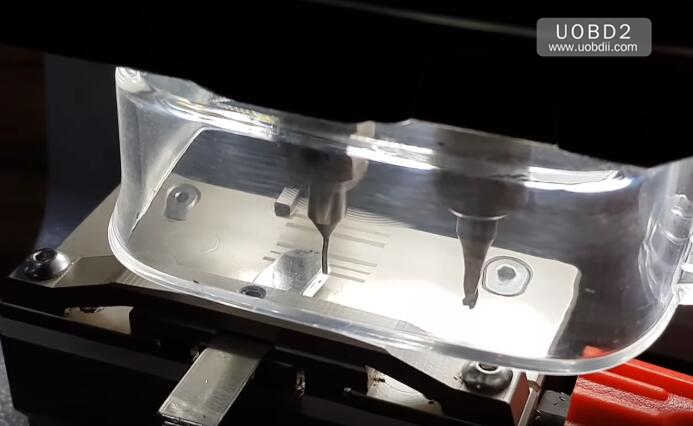
Please use the brush to clean up the clamp cutting spot,the probe and the cutter.And make sure that there is no metal left over.
Then click “Continue”
Cutting calibration in process…
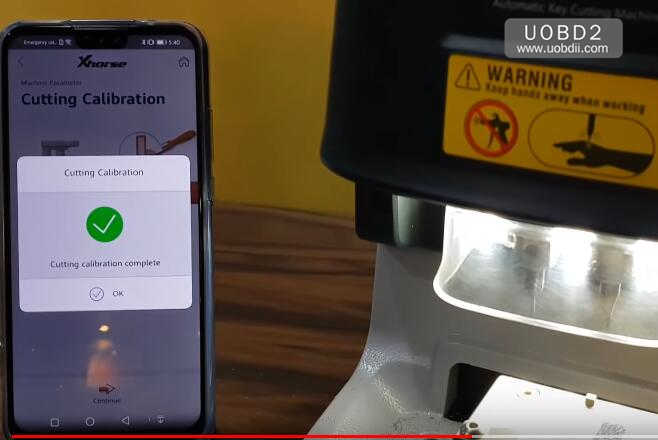
Xhorse Dolphin Machine Cutting calibration complete
Part 3: Clamp Calibration M1 & M2
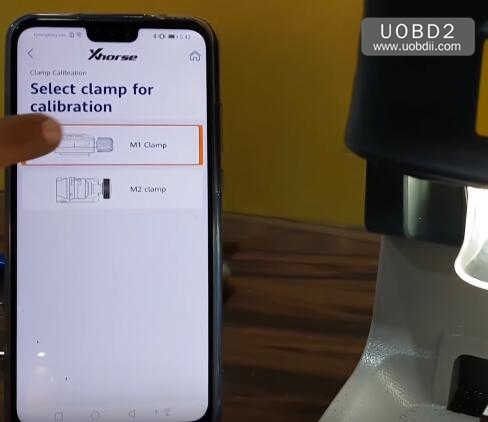
Return “Machine Parameter”,then select “Clamp Calibration”
Select “M1 Clamp”
Tip:Before use this function,please make sure already done “height level adjustment”.Please insert new HON66 key blank and tighten the clamp,then click “Start” to continue

Calmp M1 calibration in process…

M1 calibration ok

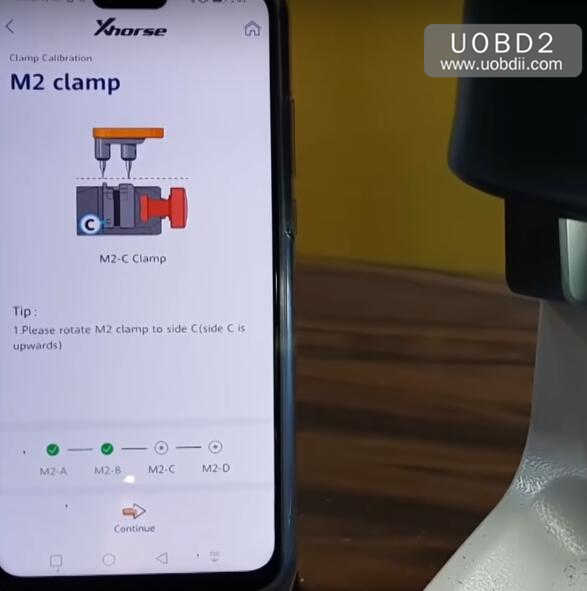
Select “M2 clamp”

Remove M1 Clamp,and install M2 clamp

Tip:Before use this function,please make sure already done “height level adjust”.Don’t insert key blank and please rotate M2 to side A(side A is upwards)

After side A calibration complete,you need to repeat the procedures to calibrate side B,side C and side D.
Side B

Side C
Side D

Done!